Tee-shirt Design
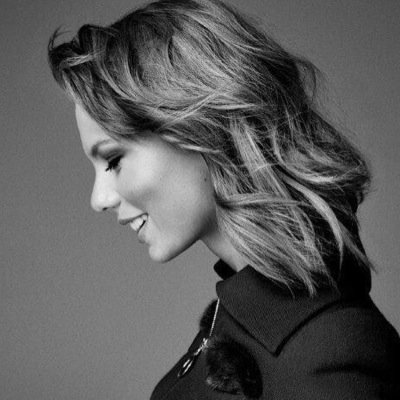
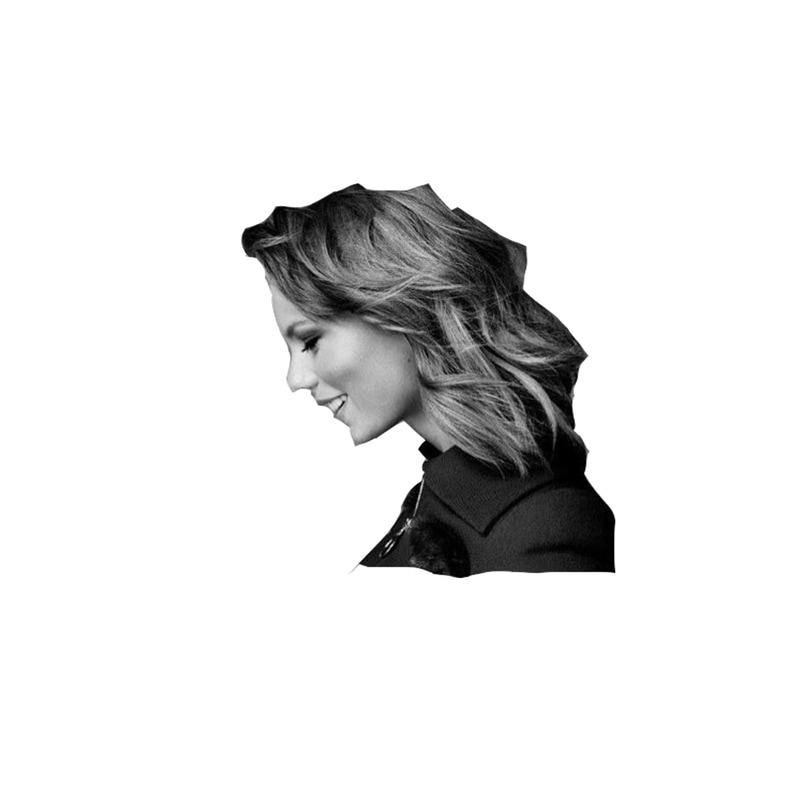
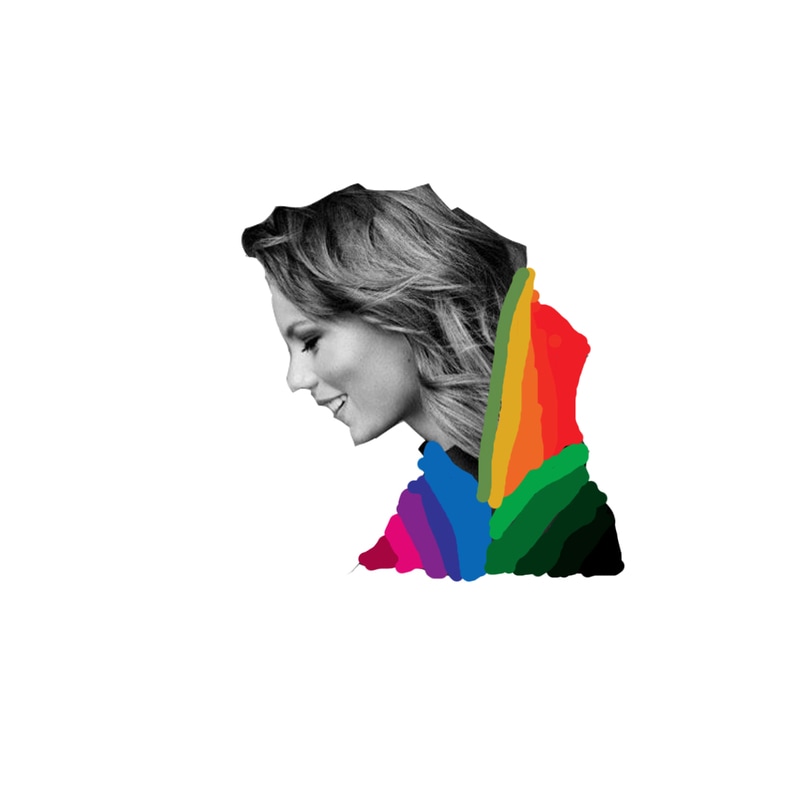
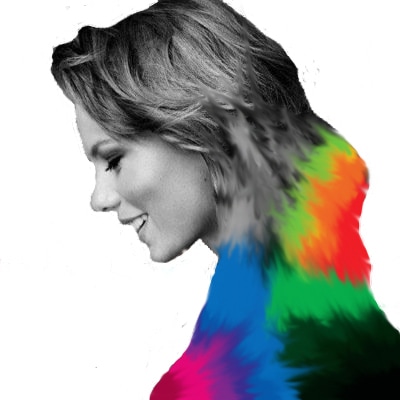
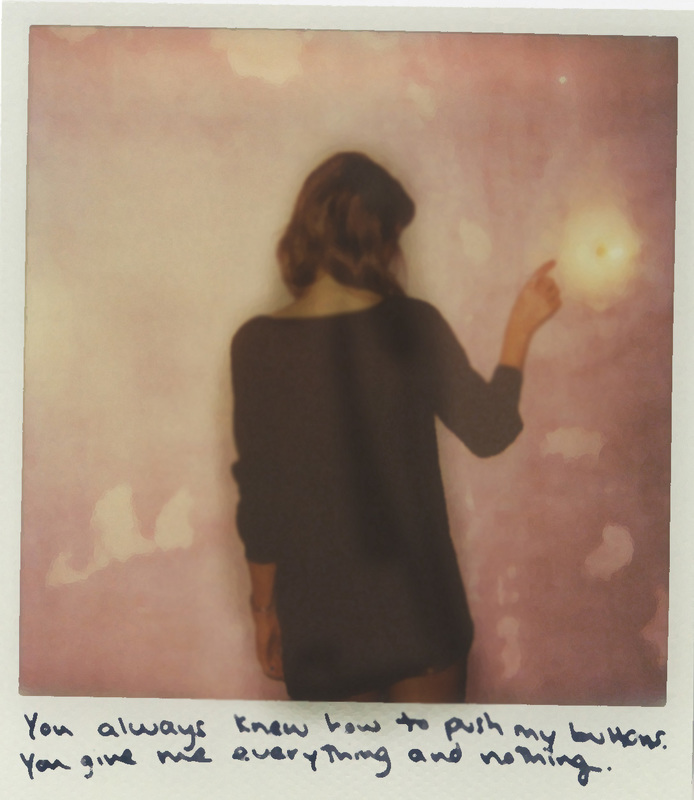
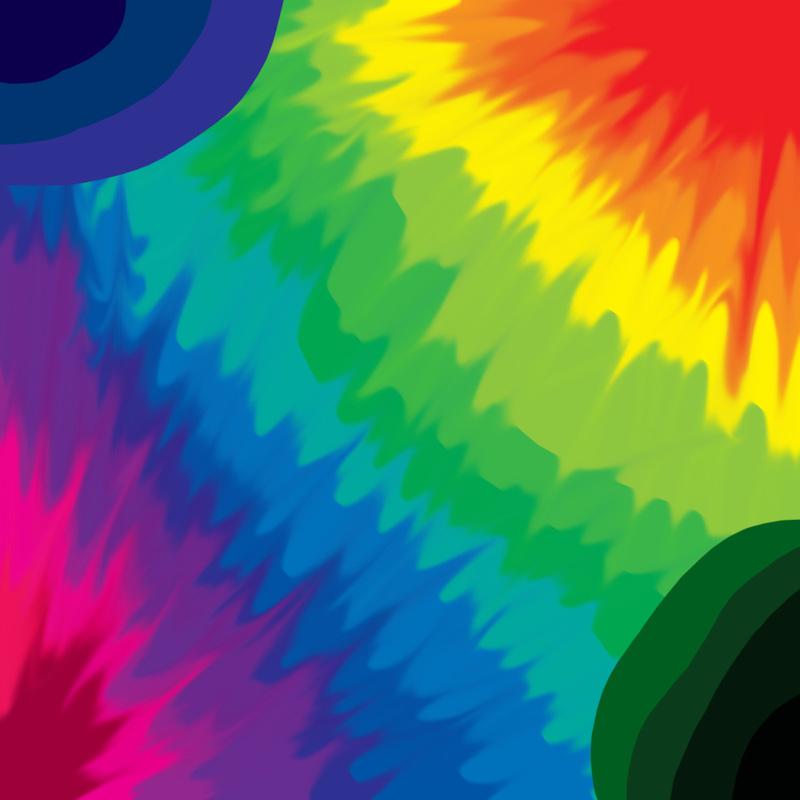
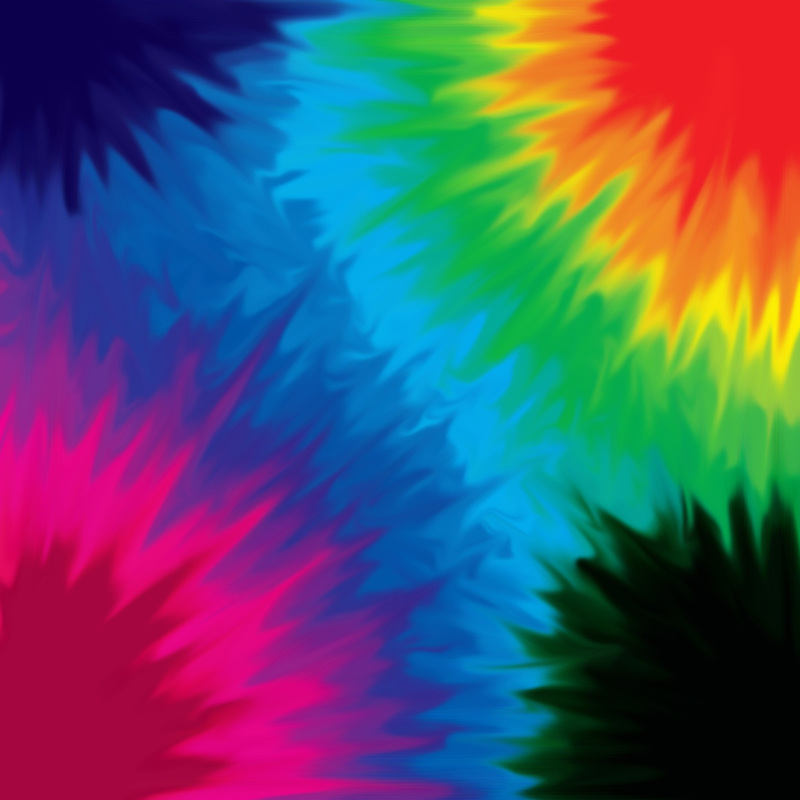
To create my tee-shirt design I started with an image of the artist. First I cropped out the girl from the background using the magnetic lasso tool. Next, I layered colors on the bottom of the image (the girls neck and hair). Then, using the smudge tool I smudged the colors together to create a rainbow tie dye effect. I continued to use the smudge tool until I got it to the point that I wanted it to be at. I chose to have the colors blend into her hair. I achieved this look by using the smudge tool to give her hair the same affect as the colors.
I chose this for the design because it replicate the design I used on my album cover from the previous project.
While doing this project I learned all about how to go about creating a tee-shirt. I learned the different types of ways to print a design onto a shirt.
I chose this for the design because it replicate the design I used on my album cover from the previous project.
While doing this project I learned all about how to go about creating a tee-shirt. I learned the different types of ways to print a design onto a shirt.
Album Covers

I used Photoshop to create both of my album covers.
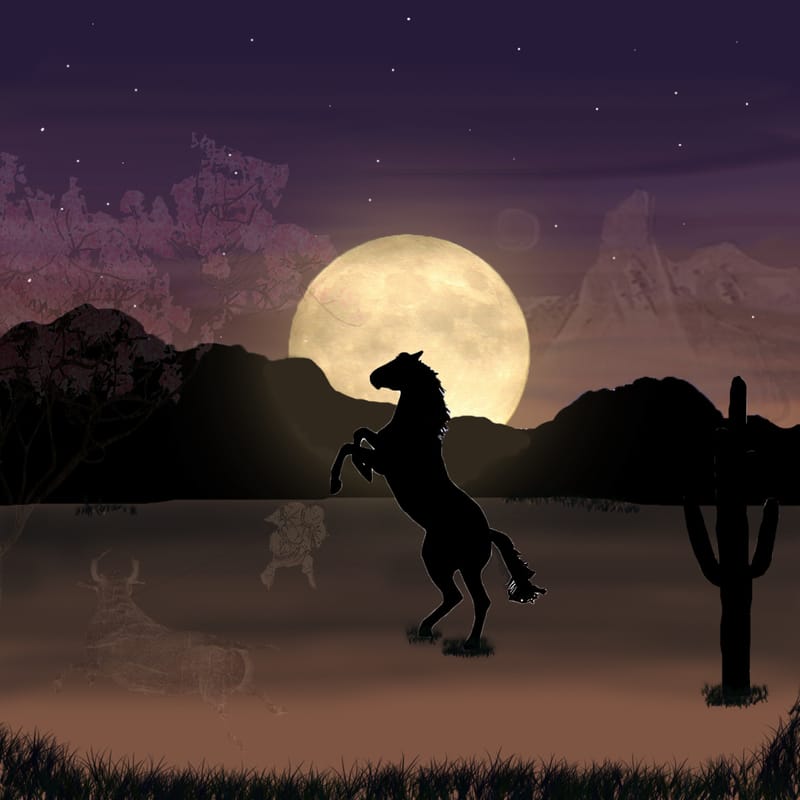
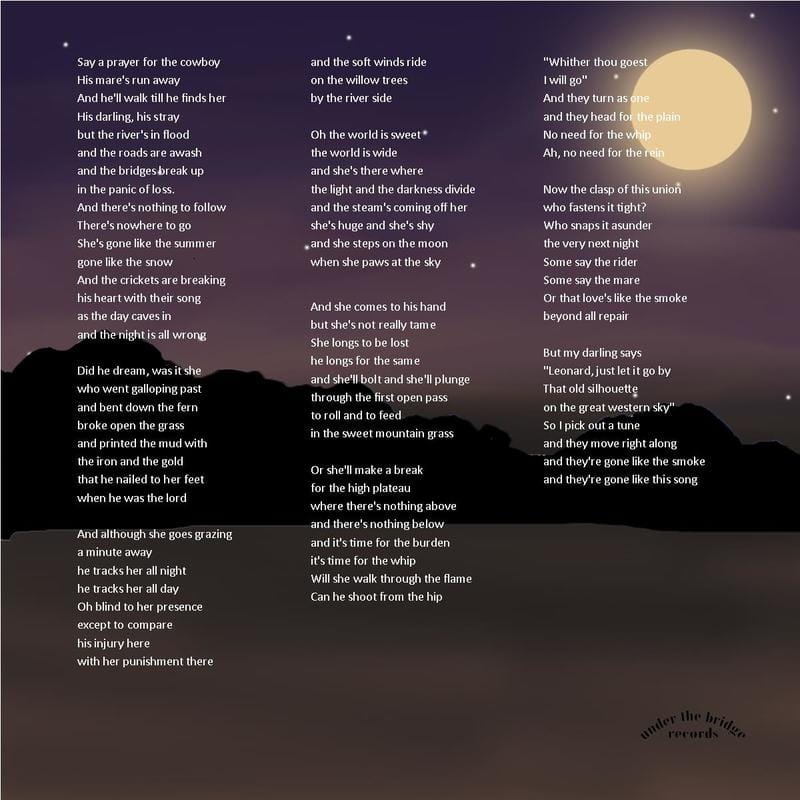
Ballad of the Absent Mare: For this album cover I started by creating the background which I painted using the colors of the night sky, blues and purples. I layered the colors on top of each other and then used the smudge tool to create a gradual transition between colors. I then used a small white brush to add stars to the sky. I also used the burn tool to create dimension on the "ground" of the scene. Next, I took an image of mountains and colored them black and them inserted it into the scene. I then added the picture of the moon and then added a glow to the moon using a light brush. I cropped out an image of a horse using the magnetic lasso tool and then painted it all black to make it look like a silhouette. Next, I used the brush that resembles grass to add grass in the background and around the feet of the horse. I used the same technique I used when creating the horse, on an image of a cactus. After doing research on the song I found that it was based off of an ancient Chinese cartoon series. I used images that represented the cartoon in the background of the other images. I made these images more transparent so that if gave more of an interesting look as well as dynamic to the image. For the back of the album I used the same techniques to create a similar image to which I then added the song lyrics on top of.
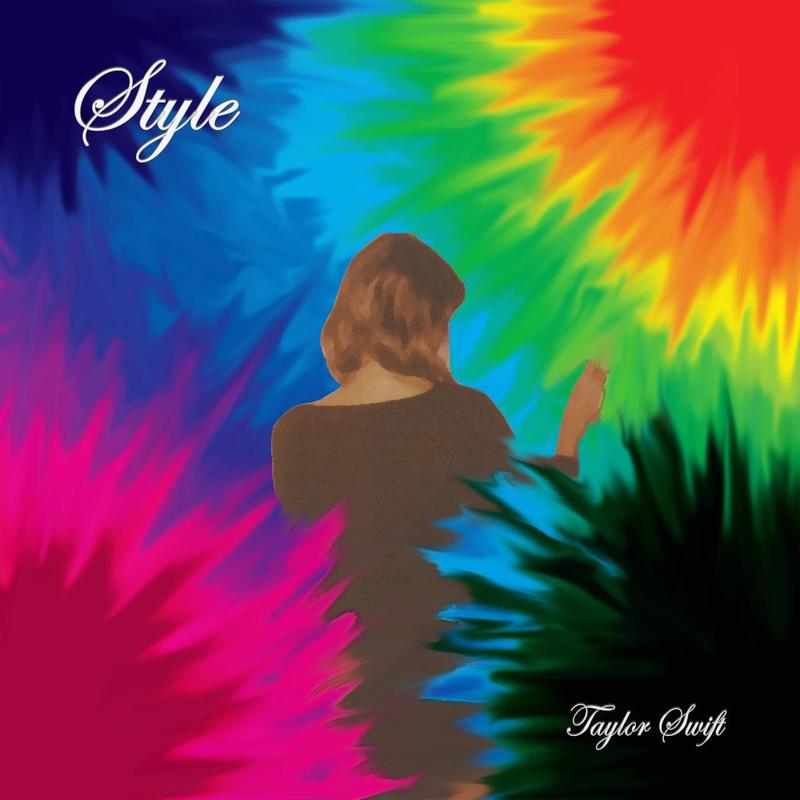
Style: To create the background for my album art I started by painting colors over the entire page. I started with a pink and gradually transitioned between colors until I got to a red. I then used the smudge tool to blend the colors together. This created more of a tie dye effect. Next, I added more colors in the corners of the pages. I then did the same thing by using the smudge tool to blend them together. In the end I created a background that I feel resembles fireworks. To render the image of the artist I wanted to make small changes as the image already appeared to have been edited prior to my own. First, I used the burn tool over the image to make the image a little bit darker. Next, I used the blur tool to soften any edges. Finally, I added the dry brush filter to give the image the appearance that it had been painted. For the back of the album art I altered the tie dye back ground by changing the colors of the paint to which I them added the song lyrics on top of.
Ballad of the Absent Mare: For this album cover I started by creating the background which I painted using the colors of the night sky, blues and purples. I layered the colors on top of each other and then used the smudge tool to create a gradual transition between colors. I then used a small white brush to add stars to the sky. I also used the burn tool to create dimension on the "ground" of the scene. Next, I took an image of mountains and colored them black and them inserted it into the scene. I then added the picture of the moon and then added a glow to the moon using a light brush. I cropped out an image of a horse using the magnetic lasso tool and then painted it all black to make it look like a silhouette. Next, I used the brush that resembles grass to add grass in the background and around the feet of the horse. I used the same technique I used when creating the horse, on an image of a cactus. After doing research on the song I found that it was based off of an ancient Chinese cartoon series. I used images that represented the cartoon in the background of the other images. I made these images more transparent so that if gave more of an interesting look as well as dynamic to the image. For the back of the album I used the same techniques to create a similar image to which I then added the song lyrics on top of.
Style: To create the background for my album art I started by painting colors over the entire page. I started with a pink and gradually transitioned between colors until I got to a red. I then used the smudge tool to blend the colors together. This created more of a tie dye effect. Next, I added more colors in the corners of the pages. I then did the same thing by using the smudge tool to blend them together. In the end I created a background that I feel resembles fireworks. To render the image of the artist I wanted to make small changes as the image already appeared to have been edited prior to my own. First, I used the burn tool over the image to make the image a little bit darker. Next, I used the blur tool to soften any edges. Finally, I added the dry brush filter to give the image the appearance that it had been painted. For the back of the album art I altered the tie dye back ground by changing the colors of the paint to which I them added the song lyrics on top of.
Stages of Editing Photo of Artist for Album Cover
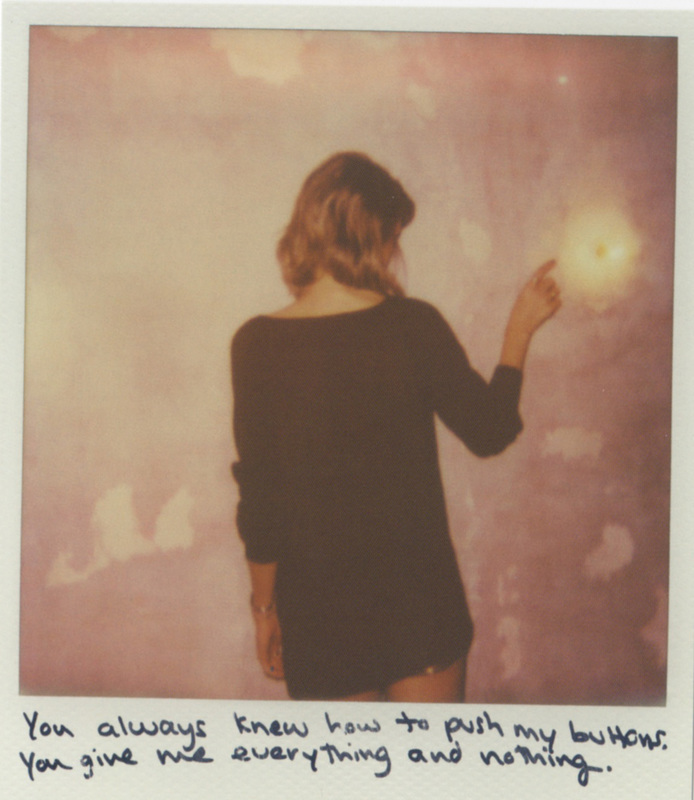


To render the image of the artist I wanted to make small changes as the image already appeared to have been edited prior to my own. First, I used the burn tool over the image to make the image a little bit darker. Next, I used the blur tool to soften any edges. Finally, I added the dry brush filter to give the image the appearance that it had been painted.
Stages of Creating the Background for Album Cover

To create the background for my album art I started by painting colors over the entire page. I started with a pink and gradually transitioned between colors until I got to a red. I then used the smudge tool to blend the colors together. This created more of a tie dye effect. Next, I added more colors in the corners of the pages. I then did the same thing by using the smudge tool to blend them together. In the end I created a background that I feel resembles fireworks.
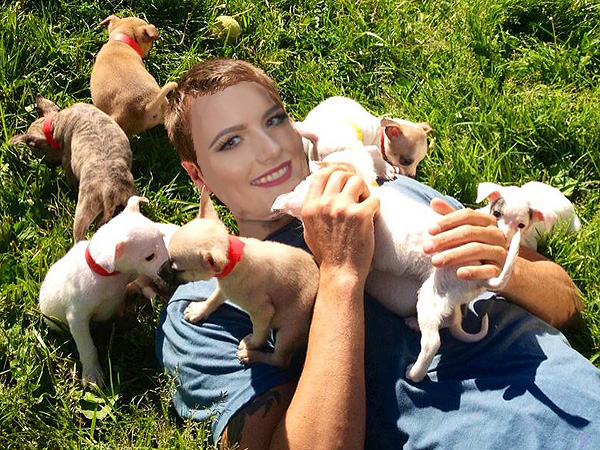
For this project I used entirely Photoshop. I began by inserting both photos into the program. I then cropped the photo of me and extracted my face from it. I then added my face to the other picture. I began to make the images blend by sampling the color of my skin and painting it over the skin of the man in the original photo. Also, by using the spot healing brush. I then proceeded to do the same to the neck. To create shadowing on the side of the face and under the chin. I blended the edges with the smudging tool. I then sampled the color of the man's hair and added some over my forehead and temples to make sure it looked natural.
While working on this project I learned more skills on Photoshop. I learned to use tools such as the spot healing brush, the burn tool, and the healing brush tool. I also learned how to add to images into one program creating multiple layers.
While working on this project I learned more skills on Photoshop. I learned to use tools such as the spot healing brush, the burn tool, and the healing brush tool. I also learned how to add to images into one program creating multiple layers.
